
Assignment of this week is learn how to use vinyl cutter and laser cutter and design press fit construction kit for cut in laser cutter and also make a design for cutting In vinyl cutter
I decided to make press fit construction kit using laser cutter . "Press-fit" means an interference fit between two parts in which one part is placed under pressure into a hole in the other part.
Before starting the design of pressfit kit determine the perfect slot width for it, for get perfect slot width , reduce lasers kerf from thickness of material used to lade cut
Kerf means width of material that is removed by a cutting process. here the laser beam burns a negligibly small portion of material when it cuts the material this is known as " Laser Kerf ". The ranges of laser kerf from 0.08mm to 0.45mm, it is depending on the type of material and other conditional factors
So

In our fab lab we are using 4mm cardboard for laser cutting. So in my case slot width
For get perfect fit I would round the slot width to 3.9 mm
I started to design the parts of press-fit with 3.9 slot width .Our local instructor Fransisco told us to realize designed press fit model using any 3D designing software . I use Blender to design and realize 3D shape for laser cutter

 Download Blender File(.blend)
Download Blender File2(.blend)
Download .svg File
Then exported .svg file open with inkscape and arrange the position of pieces for cut

In our fab lab using the laser cutter " Trotec speedy100 "
First I set position of cutting material (cardboard ) in to focus positions. Maintaining focus positions within the material is help to producing consistent edge quality
Material: Corrugated Cardboard
Power: 80
Velocity: 3
before setting above values I made some trials by setting different values for power and velocity


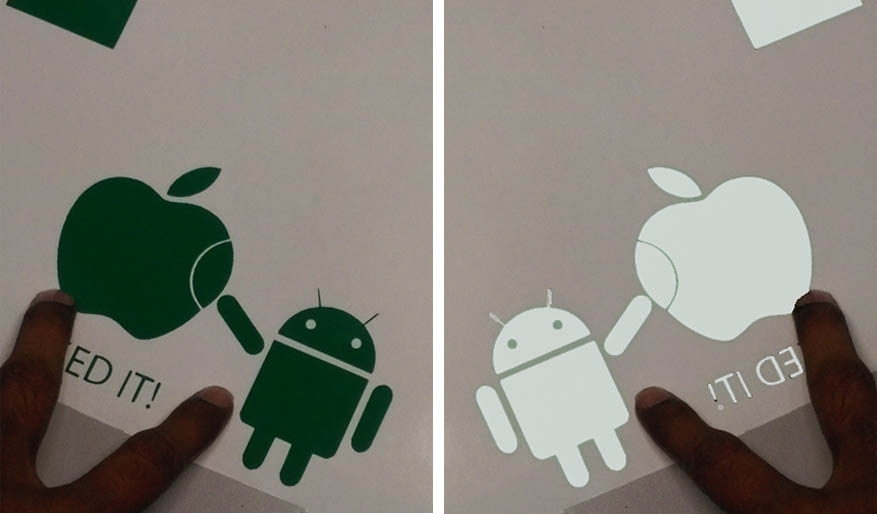
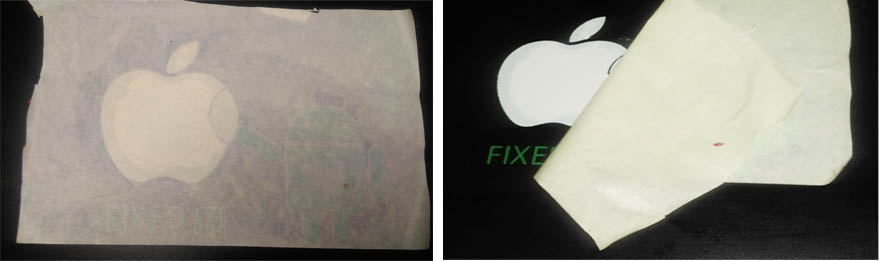
I decided to to build a multi layer sticker . For the design I download icons from The Noun project (a (collaborative icon project),then icons open with gimp
For Connect the Roland GX-24 with the my computer
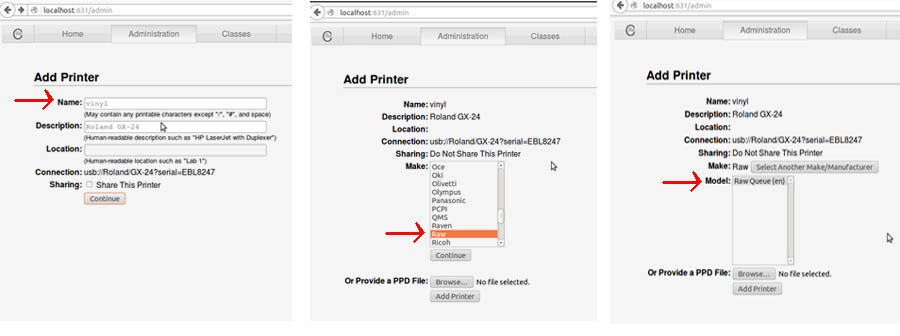
Then I check blade of printer with microscope and adjust blade length correctly . before fixing the length of blade and force I make some test cut 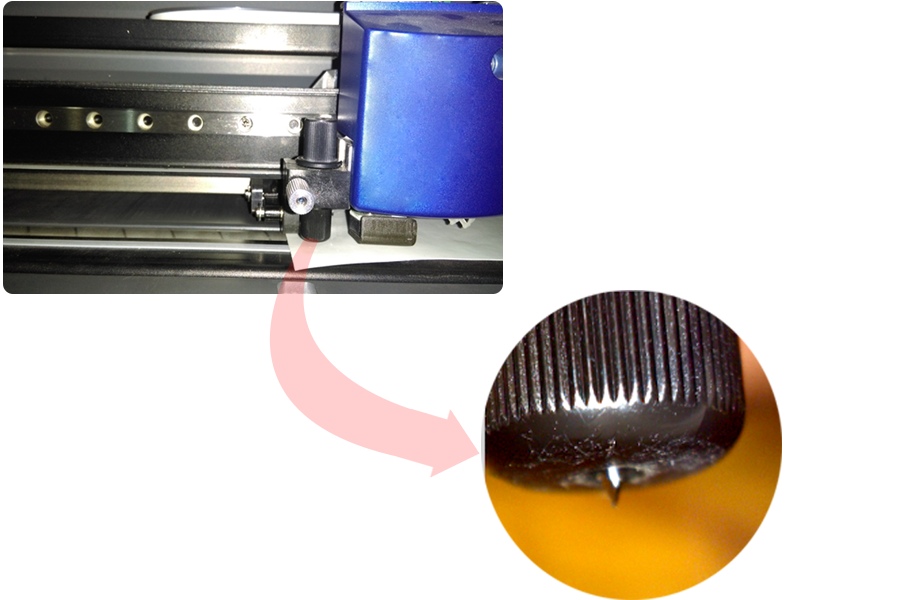
Install fabmodules usign the instructions here.
Open the fab module select format as .png and process as roland vinyl cutter(.camm)


